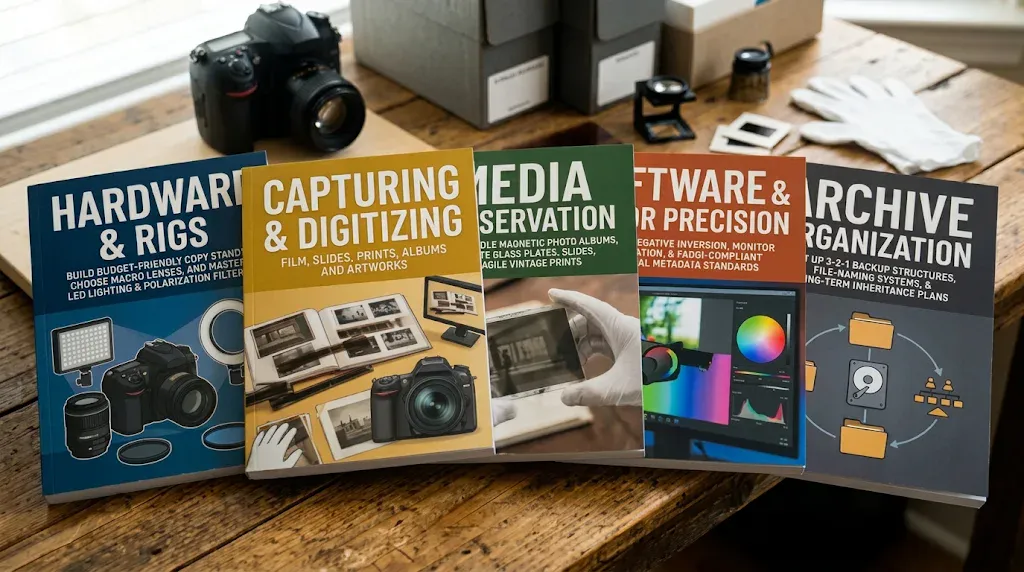
Welcome to camera-digitize-archive.com, an independent educational project dedicated to helping you preserve your family’s photographic history at museum quality—without expensive commercial labs or recurring software subscriptions.
This site was born from a simple realization: digitally archiving family history is deeply rewarding, but the technical barrier to entry can be frustratingly high.
After formal studies in photography and a career spanning decades as an IT systems engineer, I combined those two worlds to create 65 step-by-step, completely free, and ad-free tutorials. Whether you want to digitize a handful of 35mm film negatives and slides or catalog a multi-generational collection of vintage prints, this site provides the clear technical blueprints you need to do it yourself.
Start Exploring: New to camera scanning? Visit the Homepage Learning Pathway to follow our phased, step-by-step road-map from hardware setup to long-term storage.
What This Site Covers (And Why It Works)
To give you a clear overview of my methodology—and the core principles behind every tutorial on this site—here are nine essential rules for rescuing and organizing your family legacy.
1. The Fragile Whisper of the Past
Family memories are often tucked away in acidic adhesive albums or dusty shoe-boxes, fading a little more with every passing year. Digitization isn’t just about making digital copies; it is about recovering lost history.
Consider the story of a faded, muddy print digitized at high resolution: careful RAW capture and tonal editing revealed a shadowy figure in the background—a young woman in a wartime nurse’s uniform, instantly recognized by an older relative as “Great Aunt Sadie,” who served and died in France during the war. High-resolution camera digitization safeguards those stories before the paper deteriorates forever.
2. Identify Your Media First: The “Mirror vs. Magnet” Test
Before setting up a camera or scanner, you must identify the physical base of Victorian-era cased images so you don’t damage them or waste hours fighting reflections:
- Daguerreotypes (“A mirror with a memory”): Silver-plated copper sheets. If you have to tilt the plate to see the image shift between positive and negative, it is a daguerreotype. Never put one on a flatbed scanner—the direct light creates an unreadable glare.
- Tintypes: Produced on thin sheets of iron. They are darker, less reflective, and magnetic. Unlike silver plates, tintypes often scan beautifully on a high-resolution flatbed scanner, which captures the matte, japanned iron texture.
- Ambrotypes: Underexposed glass negatives that appear as positives because of a dark backing. You are holding an ambrotype if you see physical depth in the glass or notice black backing flaking away behind the portrait.
(Explore my Media Identification & Handling Tutorials for safe handling techniques across glass plates, film, and prints.)
3. The “Black Card” Trick for Glass Ambrotypes
Because ambrotypes are underexposed glass negatives, they rely entirely on a black backing to look like positive portraits. Over a century, that original black velvet or paint rots and peels, turning the portrait into a faint “glass ghost.”
Before photographing an ambrotype, slide a piece of acid-free black cardstock or matte black velvet directly behind the glass. That simple backing restores contrast immediately, allowing your camera lens to capture a crisp, rich portrait.
4. Why a Mirror-less Camera Beats a Flatbed Scanner
While flatbeds work well for certain tintypes and documents, a digital camera equipped with a 1:1 macro lens (60mm or longer) mounted on a sturdy copy stand is the modern gold standard for speed and archival sharpness:
- Perfect Parallelism (The Mirror Trick): If your camera sensor is off-parallel to the baseboard by even one degree, you lose edge-to-edge sharpness. Place a small pocket mirror flat on the copy stand base; when you see the center of your lens reflected dead-center in your viewfinder, your alignment is locked in.
- High-CRI Color Accuracy: Use daylight-balanced LED panels with a Color Rendering Index (CRI) of 95 or higher (and strong R9 red rendering). Positioning two diffused panels at 45-degree angles eliminates glare on glossy prints while revealing authentic paper texture.
- Tethered Speed: Tethering your camera directly to your computer lets you check critical focus at 100% magnification and apply structured filenames the instant you press the shutter.
(See my Copy Stand, Lighting & Macro Lens Guides for budget-friendly rigs and calibration setups.)
5. The Resolution Paradox: Why Smaller Film Needs More Megapixels
Archivists must respect the Point of Diminishing Returns—the threshold where a camera sensor stops capturing new image detail and starts recording only paper fibers or film grain:
- 8×10 Vintage Prints: A standard 24-megapixel camera easily captures every nuance on a large print.
- 35mm and 110 Subminiature Negatives: Because the physical negative is tiny, that same 24MP sensor is the baseline needed to resolve fine detail without soft edges. High pixel density acts like a precision magnifying glass for small film formats.
6. Don’t Name Your Files “Grandma.jpg”: Location-Based Naming
To keep your hard drive from becoming a chaotic “digital shoebox,” your filenames should act as physical signposts pointing straight back to the container on your shelf—not descriptions of who is in the picture.
- The Location Code: Use a structured prefix tied to your physical storage, such as
KFA-AG01-ALB01-IMG01(Family Archive – Archive Group 01 – Album 01 – Image 01). - The IPTC Metadata Layer: Store names, dates, stories, and OCR document transcriptions inside embedded IPTC metadata fields (such as Description and Keywords) using free tools like digiKam or ExifTool. Unlike proprietary cloud tags, embedded IPTC data stays permanently attached to the image file for decades.
(Dive into our Open-Source Software covering Darktable’s Negadoctor module, digiKam, GIMP, and ExifTool.) & IPTC Archiving Workflows
7. The “3-2-1” Rule for People: Your Digital Succession Plan
Technical backups protect files from hard drive failure, but only people can protect an archive from being deleted or forgotten. Adapt the classic 3-2-1 backup rule for your family custodians:
- 3 People who know the digital archive exists and where the drives are stored.
- 2 Physical Copies of a plain-English Letter of Instruction (one stored with your will, one in your desk).
- 1 Named Digital Executor designated in your estate documents.
- The “Start Here” Folder: Create a curated folder named
00_START_HERE_BEST_OF_COLLECTIONcontaining your 100 most important family portraits and stories so future generations aren’t overwhelmed by tens of thousands of raw files.
Sample Digital Assets Clause:“I grant my Digital Successor, [Name], full authority to access, manage, distribute, and preserve my digital assets, specifically including my ‘Family Digital Archive’ stored on [Physical Hardware/Cloud Service]. I authorize my Digital Successor to bypass or reset any passwords necessary to recover these files for the benefit of my heirs.”
8. Rescuing Photos from “Legacy Fasteners” and Magnetic Albums
1970s “magnetic” self-adhesive albums and rusted metal staples are two of the biggest threats to surviving family prints:
- Safe Extraction: Use unwaxed dental floss to gently “saw” through dried adhesive behind a print, followed by a thin micro-spatula to lift the photo free without bending the emulsion.
- Know When to Stop: If paper fibers begin lifting or tearing around a rusted staple or old cellophane tape, stop immediately. A rust mark is cosmetic, whereas a torn corner destroys historical evidence.
9. Your Weekend Action Plan: The Ten-Photo Challenge
You don’t need to digitize 10,000 photos this month to succeed. Start small with the Ten-Photo Challenge:
- Pick ten meaningful prints or negatives this weekend.
- Digitize them cleanly using proper lighting and focus.
- Sit down with your oldest living relative, pull those ten images up on a large screen, and record their voice as they tell you who is in the frame.
As you build this bridge between past and future, ask yourself one guiding question: “If someone discovers my digital archive 50 years from now, have I left them the keys to open it?”
Ready to Start Digitizing?
- Follow the Step-by-Step Roadmap: Head to the Camera Digitize Archive Homepage to work through our 65 free tutorials in logical order.
- Decode the Jargon: Unfamiliar with terms like CRI, IPTC, or 1:1 macro? Browse the Jargon-Free Archiving Glossary for plain-English definitions.
