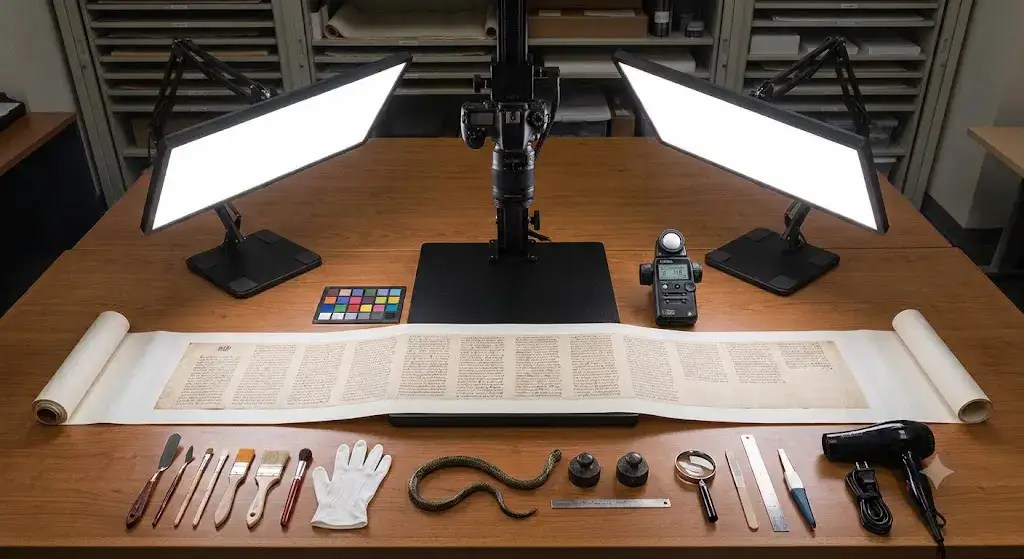
Digitizing fragile physical media requires balancing maximum image capture quality against the physical limitations of historical materials.
If you are seeking a specific tutorial subject on this site, please search below
👇
Digitizing fragile physical media requires balancing maximum image capture quality against the physical limitations of historical materials. When working with bound scrapbooks, wide fold-outs, or permanently sealed framed images, standard flatbed scanning often risks torn paper or cracked bindings. I can assure you that for this type of media a mirrorless digital camera and macro lens is the only solution that allows you to professionally capture these complex physical artifacts safely.
1. Scrapbooks & High-Relief Bound Volumes

Scrapbooks present two main challenges: deep gutters that create dark shadow valleys and uneven surfaces caused by glued-in artifacts (coins, ribbons, thick cardstock).
- Avoid Flatbed Presses: Pressing a thick, non-flat scrapbook flat against scanner glass puts severe stress on the spine and can pop attached elements off the page.
- Use a 90° or 120° Book Cradle: Support the covers of the scrapbook at a comfortable angle using dense foam wedges or a book cradle. This prevents the spine from breaking under its own weight.
- Cross-Polarized Lighting: Position two continuous lights at 45 degree angles relative to the page. Place cross-polarizing films over your lights and a circular polarizer on your camera lens to strip away glare caused by glossy photos, plastic sleeves, or adhesive tape.
- Focus Stacking for High Relief: Because scrapbooks have varying depths across a single page, shoot at an aperture of f/8 to f/11. If objects like thick badges or pop-ups still fall out of focus, capture 3–4 bracketed focus shots and stack them in post-processing. Many mirrorless cameras can now do this for you in-camera (Panasonic Lumix).
2. Panoramic & Multi-Panel Fold-Out Media
Map inserts, family trees, and fold-out photo panoramas often exceed the field of view of a standard fixed overhead setup and tend to curl along fold lines.
- Non-Destructive Flattening: Never press hard on aged paper folds. Use polished, clear acrylic weights (or snake weights wrapped in acid-free tissue) placed strictly on the blank margins to hold edges down.
- Stitching Image Sections: Rather than moving the camera back and losing resolution, keep the camera height fixed and capture the fold-out in overlapping segments (30% overlap per shot). Stitch the images using software like Adobe Lightroom, Hugin, or PTGui.
- Managing Shadow at the Fold: Direct light straight at a crease creates dark line shadows. Angle your key light parallel to the fold line rather than perpendicular to it to wash light through the valley of the crease.
3. Framed Photos Behind Glass (Without Unframing)

The Issue: Delicate, sealed, or glued heritage frames cannot always be opened safely without destroying the backing, paper dust seal, or historical labels.
When you must digitize a photo while it remains behind original glass, your primary enemy is reflection—from the room, the camera rig, and even your own clothing.
                  [ Camera + Circular Polarizer ]
                                |
                                |
        45° Light  --->   [ Frame Glass ]   <---  45° Light
        (Polarized)      [ Photo Print ]          (Polarized)
Setup and Capture Protocol
- Kill Ambient Light: Work in a completely dark room. Any ambient ceiling light or window light will manifest as a wash of reflection on the frame glass.
- Wear Dark Clothing: Stand behind a black screen or wear a dark matte long-sleeve shirt so your body does not reflect off the glass.
- Set Off-Axis 45 degree Lighting: Position twin lights at 45 degree angles to the frame. At this angle, direct reflection bounces away from the camera lens rather than straight back into it.
- Deploy Full Cross-Polarization:
- Place linear polarizing sheets over both light sources.
- Attach a circular polarizer (CPL) to your camera lens.
- Rotate the lens filter until reflections off the glass completely disappear. This exposes the texture of the photo beneath without a hazy veil over the glass surface.
- Align Sensor Parallel to Glass: Ensure the camera sensor is perfectly parallel to the glass plane to avoid keystone distortion and corner softness. Use a small mirror placed flat on the glass; when you see the camera’s lens center reflected precisely in the middle of your viewfinder frame, alignment is exact.
Practical Reference Guide
| Artifact Type | Primary Risk | Lighting Angle | Essential Tool |
| Thick Scrapbook | Spine rupture & shadow valley | 45 degree cross-polarized | Book cradle / foam wedges |
| Large Fold-Out | Crease tears & uneven focus | Parallel to crease | Acrylic weights & stitch software |
| Sealed Framed Image | Surface reflection & glare | 45 degree strict off-axis | Lens CPL filter + lighting sheets |
More details relevant to this subject can be found in my two related posts
The Ultimate Guide to Digitizing Vintage Prints
Guide to Digitizing Artwork: Essential Techniques
If you are seeking a specific tutorial subject on this site, please search below
👇
Was This Post Helpful?
Building this free educational archive is a labor of love! If this post helped you solve your problem today, please leave a like below to let me know you enjoyed it. Your support helps keep this site 100% free and ad-free for the archiving community.

Other posts in this new series – The Hardware & Optical Precision Loop.
Physical and Optical Precision: Masking, Alignment, and Newton’s Rings
Flatness Calibration & Depth-of-Field Precision.
Digitizing 3D History & Complex Formats
DNG vs. RAW: Safeguarding Your Digital Master Files
Protecting Your Archive Against Bit Rot
Sharing Your Archive with Non-Technical Family
Ethical Archiving: Handling Sensitive Secrets, Medical Records, and Personal Privacy
Open-Source Film Inversion: Mastering Darktable’s Negadoctor Module
Using AI Photo Restoration Whilst Retaining Authentic Detail
Camera-Digitize-Archive-Glossary
HOME
External Links
US National Archives: Preserving Scrapbooks
Maintained by the US National Archives and Records Administration (NARA), this guide provides authoritative preservation and digitizing standards for complex three-dimensional items. It details safe overhead camera positioning, face-up capture to protect fragile bindings, and proper handling techniques for items with folded or multi-layered inserts.
Backstage Library Works: Approaches to Digitizing Scrapbooks
A comprehensive technical overview from a professional archival digitization institution. It covers practical studio workflows for handling complex layout challenges, including masking multi-page fold-outs to reduce glare, capture sequencing for tipped-in items, and book-cradle padding strategies for thick or uneven media.
I welcome comments and questions